How to Make Simple Invitations
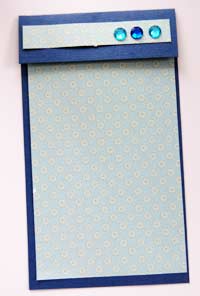
Now these would have to be the best invitations to make when you're in a hurry, on a budget and you still want them to look great. We wont need any adhesives of any kind. All we need is cardstock and some 2 pronged brads which you can buy from your local craft or scrapbooking store. You can use your basic round brads or you can find a range of brads out there that will match your theme. The brads are what we will be using to hold the invitation together.
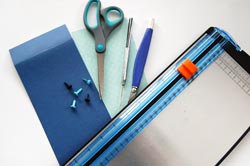 Materials:
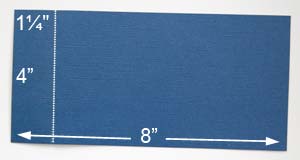
- Cardstock Base (8"x4")
- Coordination cardstock or patterned paper for the top card (6½" x 3¾")
- Brads (3 or 4 per invitaiton)
- paper trimmer, craft knife or a pair of scissors
- pencil and ruler
- paper piercing tool - skewer, safety pin
Step 1
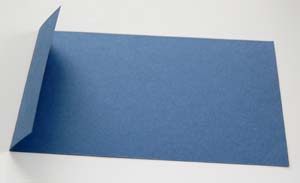
Score and fold your cardstock base at 1¼" from the top. Set this piece aside.
Step 2
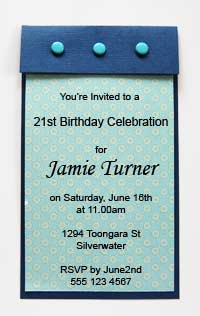
Print the invitation details onto the top card making sure to leave the top 1½" blank. Slip the top card into the fold of the base.
Step 3
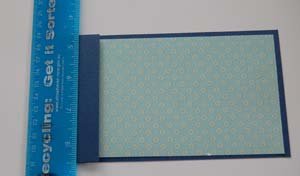
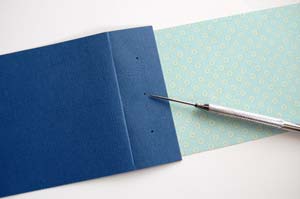
Hold the card together and mark 3 holes along the top fold of the base for the brads. You can distribute the holes evenly or place all three on the one side.
Step 4
Use a paper piercing tool to poke holes through the top fold and through the top card insert only for the brads. Do not pierce the bottom of the invitation base. If you do not have a paper piercing tool the you can use a safety pin or skewer to carefully pierce through the papers. Insert the brads to finish.
Tips and ideas
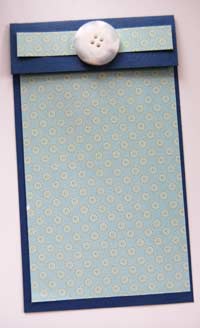
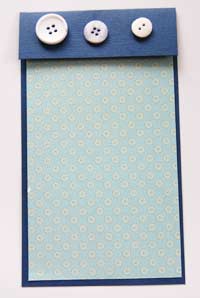
- Use eyelets or buttons instead of brads
- Instead of using brads attach the top flap and the insert to each other with your sewing machine and coordinating thread
|
|
|
|


