Handmade Sewn Wedding Invitations
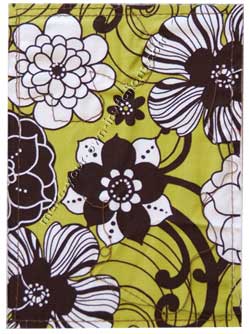
I love all the beautiful fabrics that you can buy from sewing and craft stores like Joann's and even home decor shops like Ikea and Freedom furniture. I really wanted to base my wedding stationary around a favorite material of mine and stitched with a nice coordinating color that would tie it all together as well as create a distinctive border.

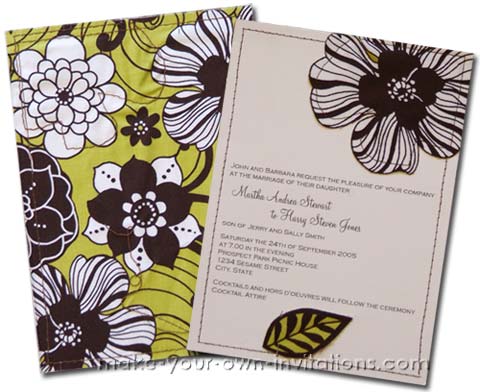
Finished sewn wedding invitations back and front with sewn on
embellishments
After a bit of trial and error I came up with a design that we both loved. Our wedding colors were khaki green and chocolate brown. I selected a lovely floral pattern in our chosen colors.
I had a lot of white construction card that hubby brought home from work one day years ago. It was firm and quite thick and so I figured that we'd use it to
materials
-
A nice floral fabric
-
Card - 5x7"
-
rotary cutter (optional)
-
metal ruler
-
Sewing scissors (very sharp and excellent for cutting fabric)
-
Sewing machine and iron
-
spray adhesive and med interfacing (both are optional and will make your task a little easier)
Instructions
 Step one
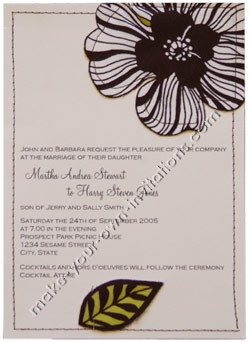
Print the invitation details on to your card at least a 1/2" inch from the left side. Leave most of the top half of the card blank (at least 3") for your flower motif. If you have a design with small flowers or leaves that you can stick to your invites then you can leave about 1 1/2" of the bottom blank for them as well.
Step two
Iron your fabric, measure and cut a 5x7 rectangle. Use a rotary cutter and a straight edge ruler to cut a good line. If you don't have these tools then cut them out with your sewing scissors.
Tip: Iron on some medium interfacing on to the wrong side of your fabric to make your fabric more firm and easier to cut.
Step three
Cut out a selection of flowers and leaves from your ironed fabric
Step four
Take your printed card and place the 5x7 fabric rectangle face up on to the back of the card. You might want to use a spray adhesive to secure the fabric to the card and hold it in place while you sew it together.
Step five
 With the printed invitations details facing up Stitch a border
in a coordinating colored thread around the card about a 1/4" in from the
sides carefully joining the card and the fabric together.
Step six
Flip the card over and position your flower and leaves onto the front of the card. attach the flowers it to the card by stitching loosely around the flower or the flowers center. Don't try to be too perfect as it will look great. Stitch along the spine of the leaves.
Step seven
tie off any loose threads. The edges of the fabric are raw and my fray but that is fine, it just adds to the character of your homemade wedding invitations.
RSVP inserts and cards
These were the easiest of all. I printed the cards onto the white card and matted them onto chocolate and green card and stitched a border with cream thread.
See also
More DIY sewn wedding
invitations
DIY Wedding
Invitations
Return from Sewn wedding invitationsto Make your own wedding invitations


